How to dry your Wedding Flowers
Ever wondered what happens to flowers when they have been dried? Their vibrancy is dulled slightly, but their beauty is enhanced. Ever since I started my flower business I have been regularly asked by brides after their wedding; ‘how do I dry my wedding flowers?’
Whether you decide to ‘Do-It-Yourself’ or have your flowers preserved professionally, always ensure that they are placed in water as soon as is possible, after your wedding photos have been taken. Ask your florist to provide a vase and display them on your top table or elsewhere in the venue. Ensuring the flowers have as much hydration as possible will enable the flowers to be dried at their best and therefore preserve their beauty.
The best areas to dry wedding flowers are either in a dark cool cupboard, garage (where I tend to dry my flowers), or a garden shed which is mostly dark inside when the door is shut. Always make sure whilst the flowers are drying that they are kept away from direct sunlight, otherwise the light bleaches the colour of the flowers.
Here are various techniques to help. Most people will be able to find success with a DIY approach to this, but you could also consider looking for an expert if you’d like to get the best results. Locally, I recommend @rubina_press or @underthelaureltree.
Here are various techniques to dry wedding flowers (or in fact any flowers you may receive as a gift) with a DIY approach it is a simple and easy project anyone can try.
AIR-DRYING TECHNIQUE (UPSIDE DOWN)
The most effective method is air-drying your bouquet upside down. This is one of the simplest and quickest ways to preserve them.

- To prepare the flower bouquet, snip the ribbon and tying point. Carefully separate the stems and start stripping down all the unwanted foliage from the stems. Try to leave some of the top foliage surrounding the flower as this adds a more natural appearance.
- Gathering the stems together, wind a length of string or twine around the top of them a few times, and secure with a tight knot at the end, leave enough string to form a loop to hang them with. You will find the stems themselves will shrink as they dry, so make sure that you have tied the bunches tightly enough to keep them together, but not too tightly in case this breaks the stems.
- Separate the flowers into smaller bunches of the same flower and ensure that when you hang them to dry they’re not sitting too closely together – this will allow for air circulation.
- Attach the flowers to a ‘washing-line’ of taut string or wire, in a cool dark environment and wait! This method can take several weeks, but once thoroughly dried can be re-arranged in a vase or container of your choice.
AIR-DRYNG TECHNIQUE (UPRIGHT)
While most flowers traditionally are dried upside down, there are a few that I dry with their heads facing upwards. I tend to recommend this method with bigger headed blooms, as I find this results in the blooms drying with a more open appearance, and if it has particularly heavy heads, ensures the flower heads don’t droop.
- Source some chicken wire – or cardboard box lid with holes punched through will do the job.
- Strip the foliage off the stems and slot each stem individually through small holes until the head of the flower rests on the chicken wire or cardboard.
- Attach a wire loop to the top of the chicken wire or cardboard box lid and hang in a cool dark room.
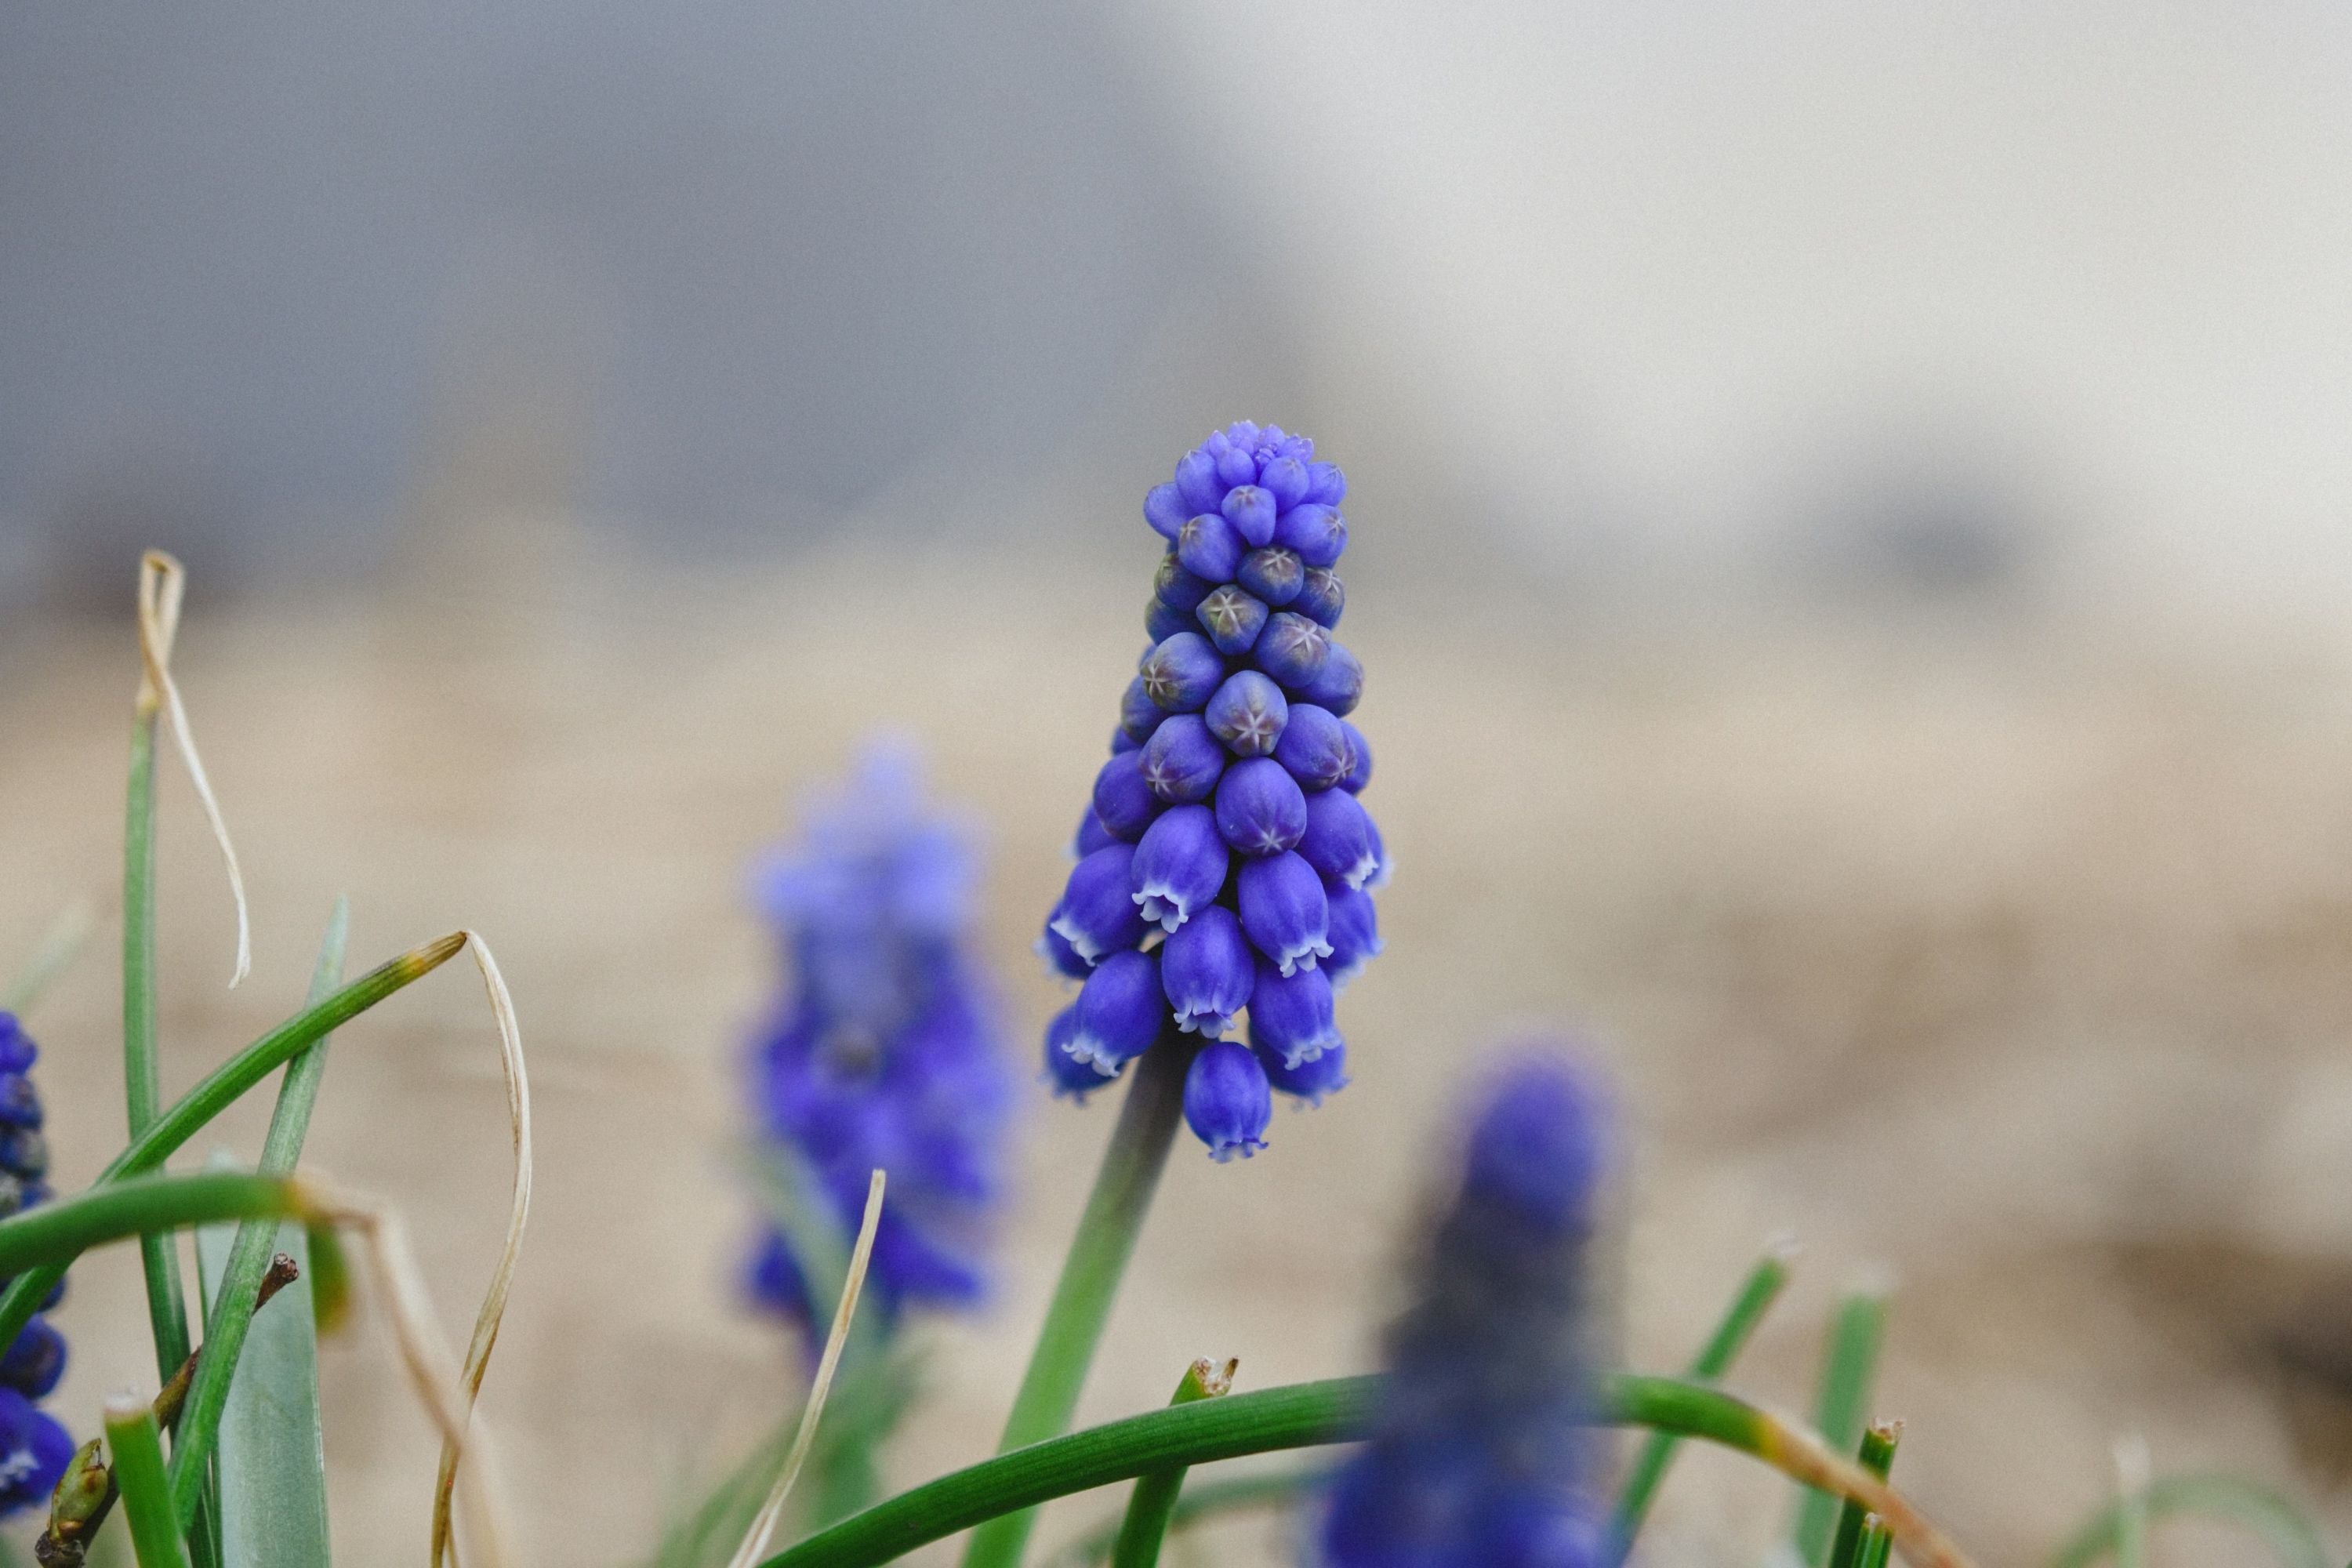
This method works well if you are drying sunflowers, zinnias, dahlias or any large headed flowers in fact.
Either of the above techniques tends to take about 3-5 weeks and can be left hanging where they are, until ready to arrange or transferred to storage boxes lined with tissue paper.
SILICA DRYING TECHNIQUE
This method is a bit more fiddly, but worth a try, you can purchase silica gel from Hobbycraft or Amazon.
Silica gel is a bit like porous sand. Silica works by drawing the moisture out of the petals and leaves whilst also holding the flower in shape. As the flowers are not exposed to any light, air or heat, once dried, this method retains the original colour!
Most good silica gel comes with coloured beads which change colour as they become full of moisture. Silica gel beads can be re-used by drying them out in an oven on a very low heat for a few hours.
To use this drying technique you will need to find a container big enough to hold both the flowers and the silica gel with the lid firmly sealed. I suggest an old biscuit tin or a large tupperware box – with lids. This method is especially suitable for smaller flowers. However, it can limit the quantity of flowers that you can dry in one go.
Depending on the flowers you are drying, it can take between 2-8 weeks to fully dry out.
- Find an air-tight metal or plastic container
- Put a layer of silica gel at the bottom of the container
- Cut the flowers stems short enough to place in container
- Carefully pour the silica gel around the flowers
- Once you have enough around your flowers sprinkle lightly over the top of the flowers until your flowers are completely covered
- After several weeks, once the flowers have dried, slowly pour out the silica gel until you are able to see the flowers
- Pick them up gently by the stem and carefully shake them free of the silica
- Use a small paint brush with a soft tip to clean up the small bits of silica gel leftover on the flowers that are stuck to it
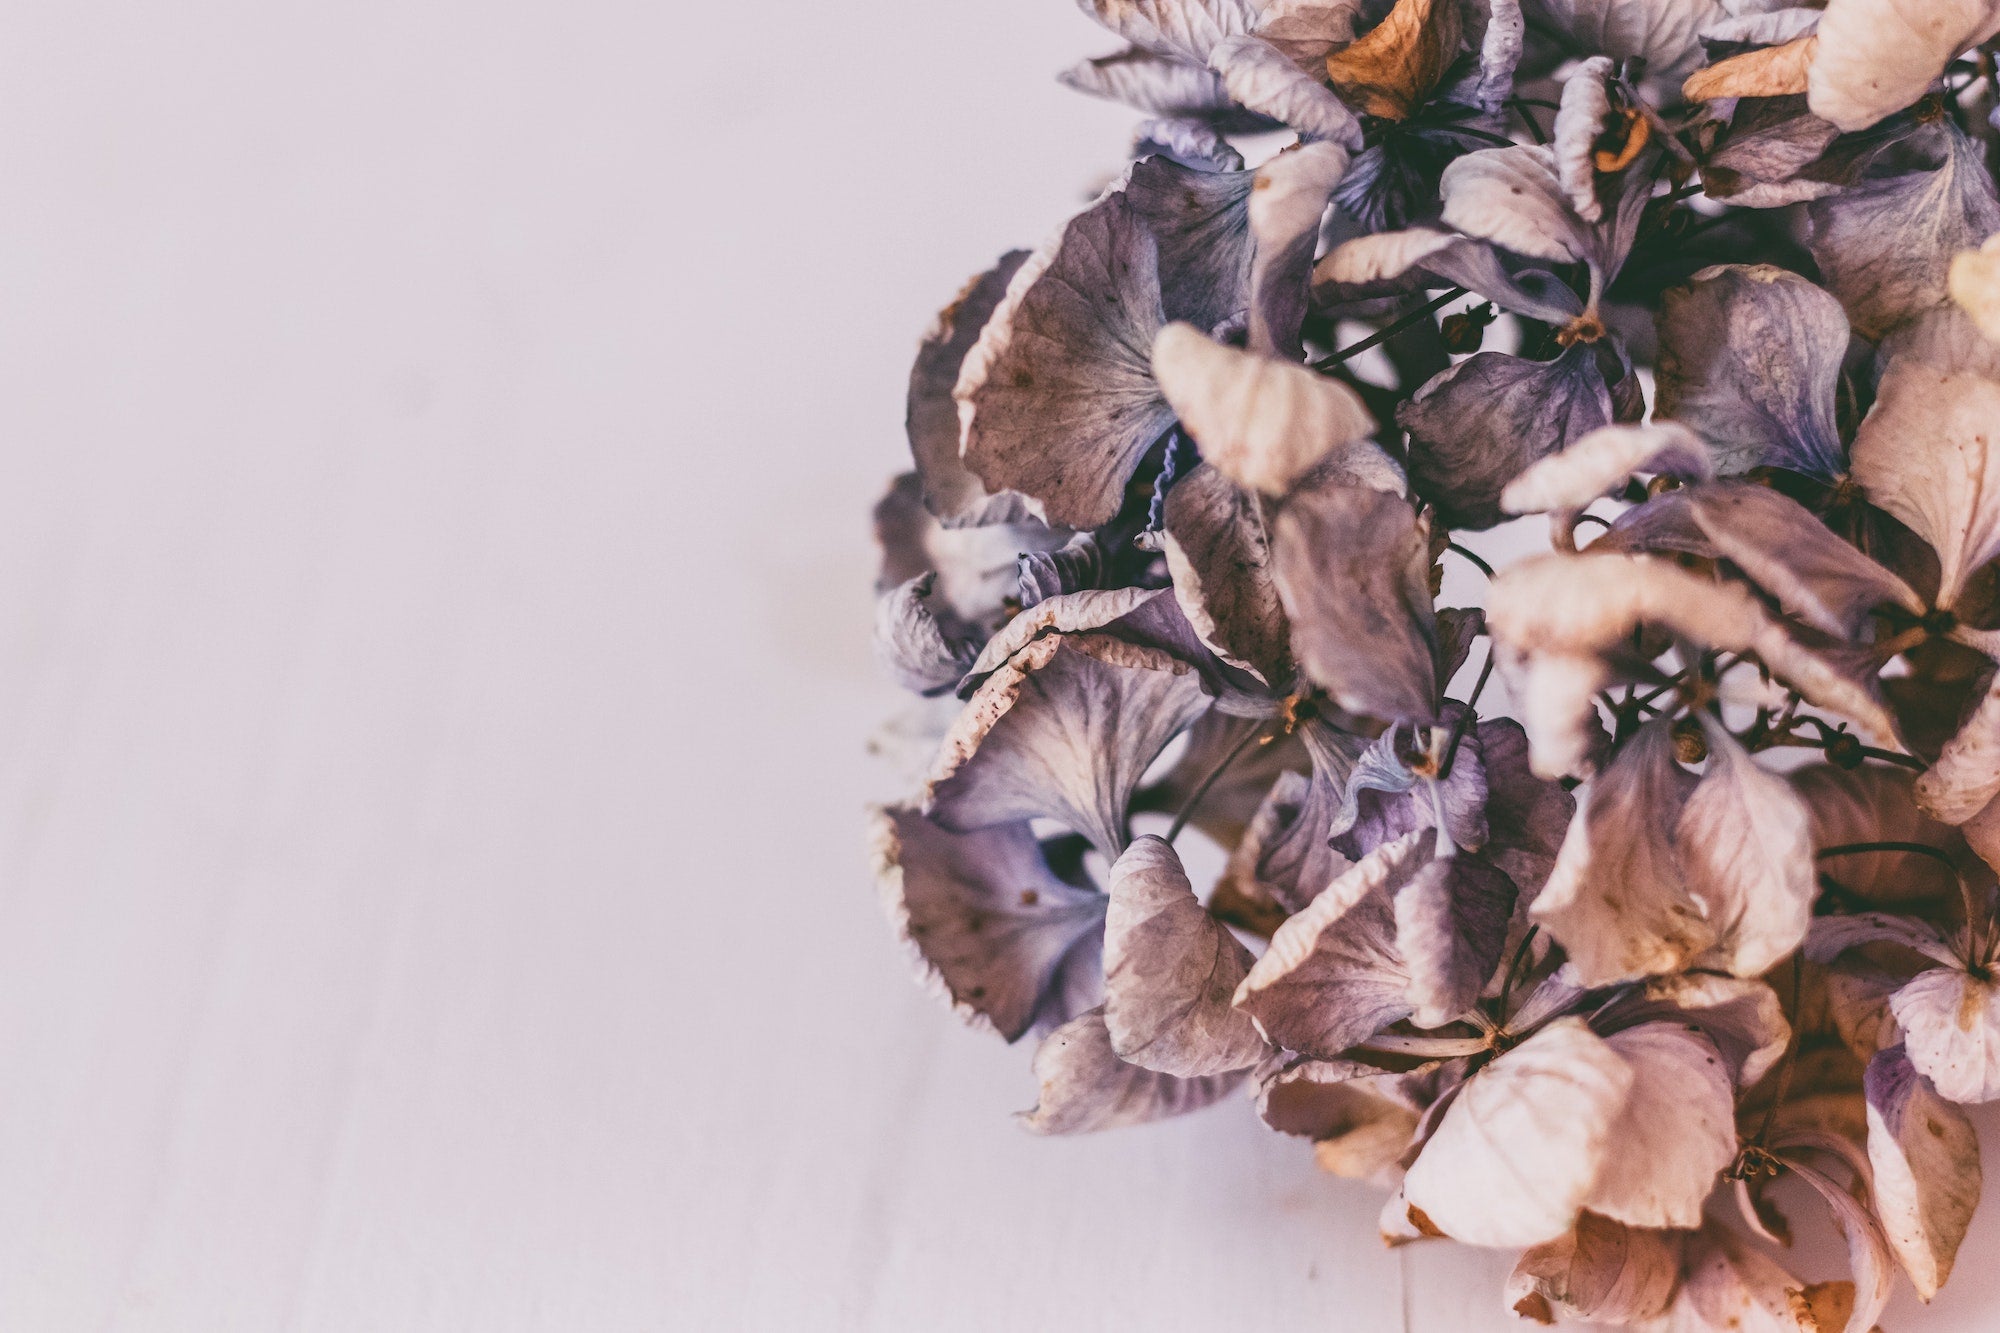
DRY EVAPORATION TECHNIQUE
Probably the easiest method to dry wedding flowers is dry evaporation. The beauty of this method is that you can enjoy the flowers whilst they dry – display them somewhere away from direct sunlight, so avoid the window cill!
After stripping the flowers of any unwanted foliage and particularly anything that sits below the waterline, put the flowers in a vase and add approximately two inches of water.

Ensure that the ends of the stalks sit in the water, and then just wait! It can take quite a few weeks for the flowers to dry out completely, but there is no need to top up the water. This method works particularly well with hydrangea, gypsophila and spray roses.

Comments