Crafting a Spring Floral Muscari Filled Trough: A Step-by-Step Guide

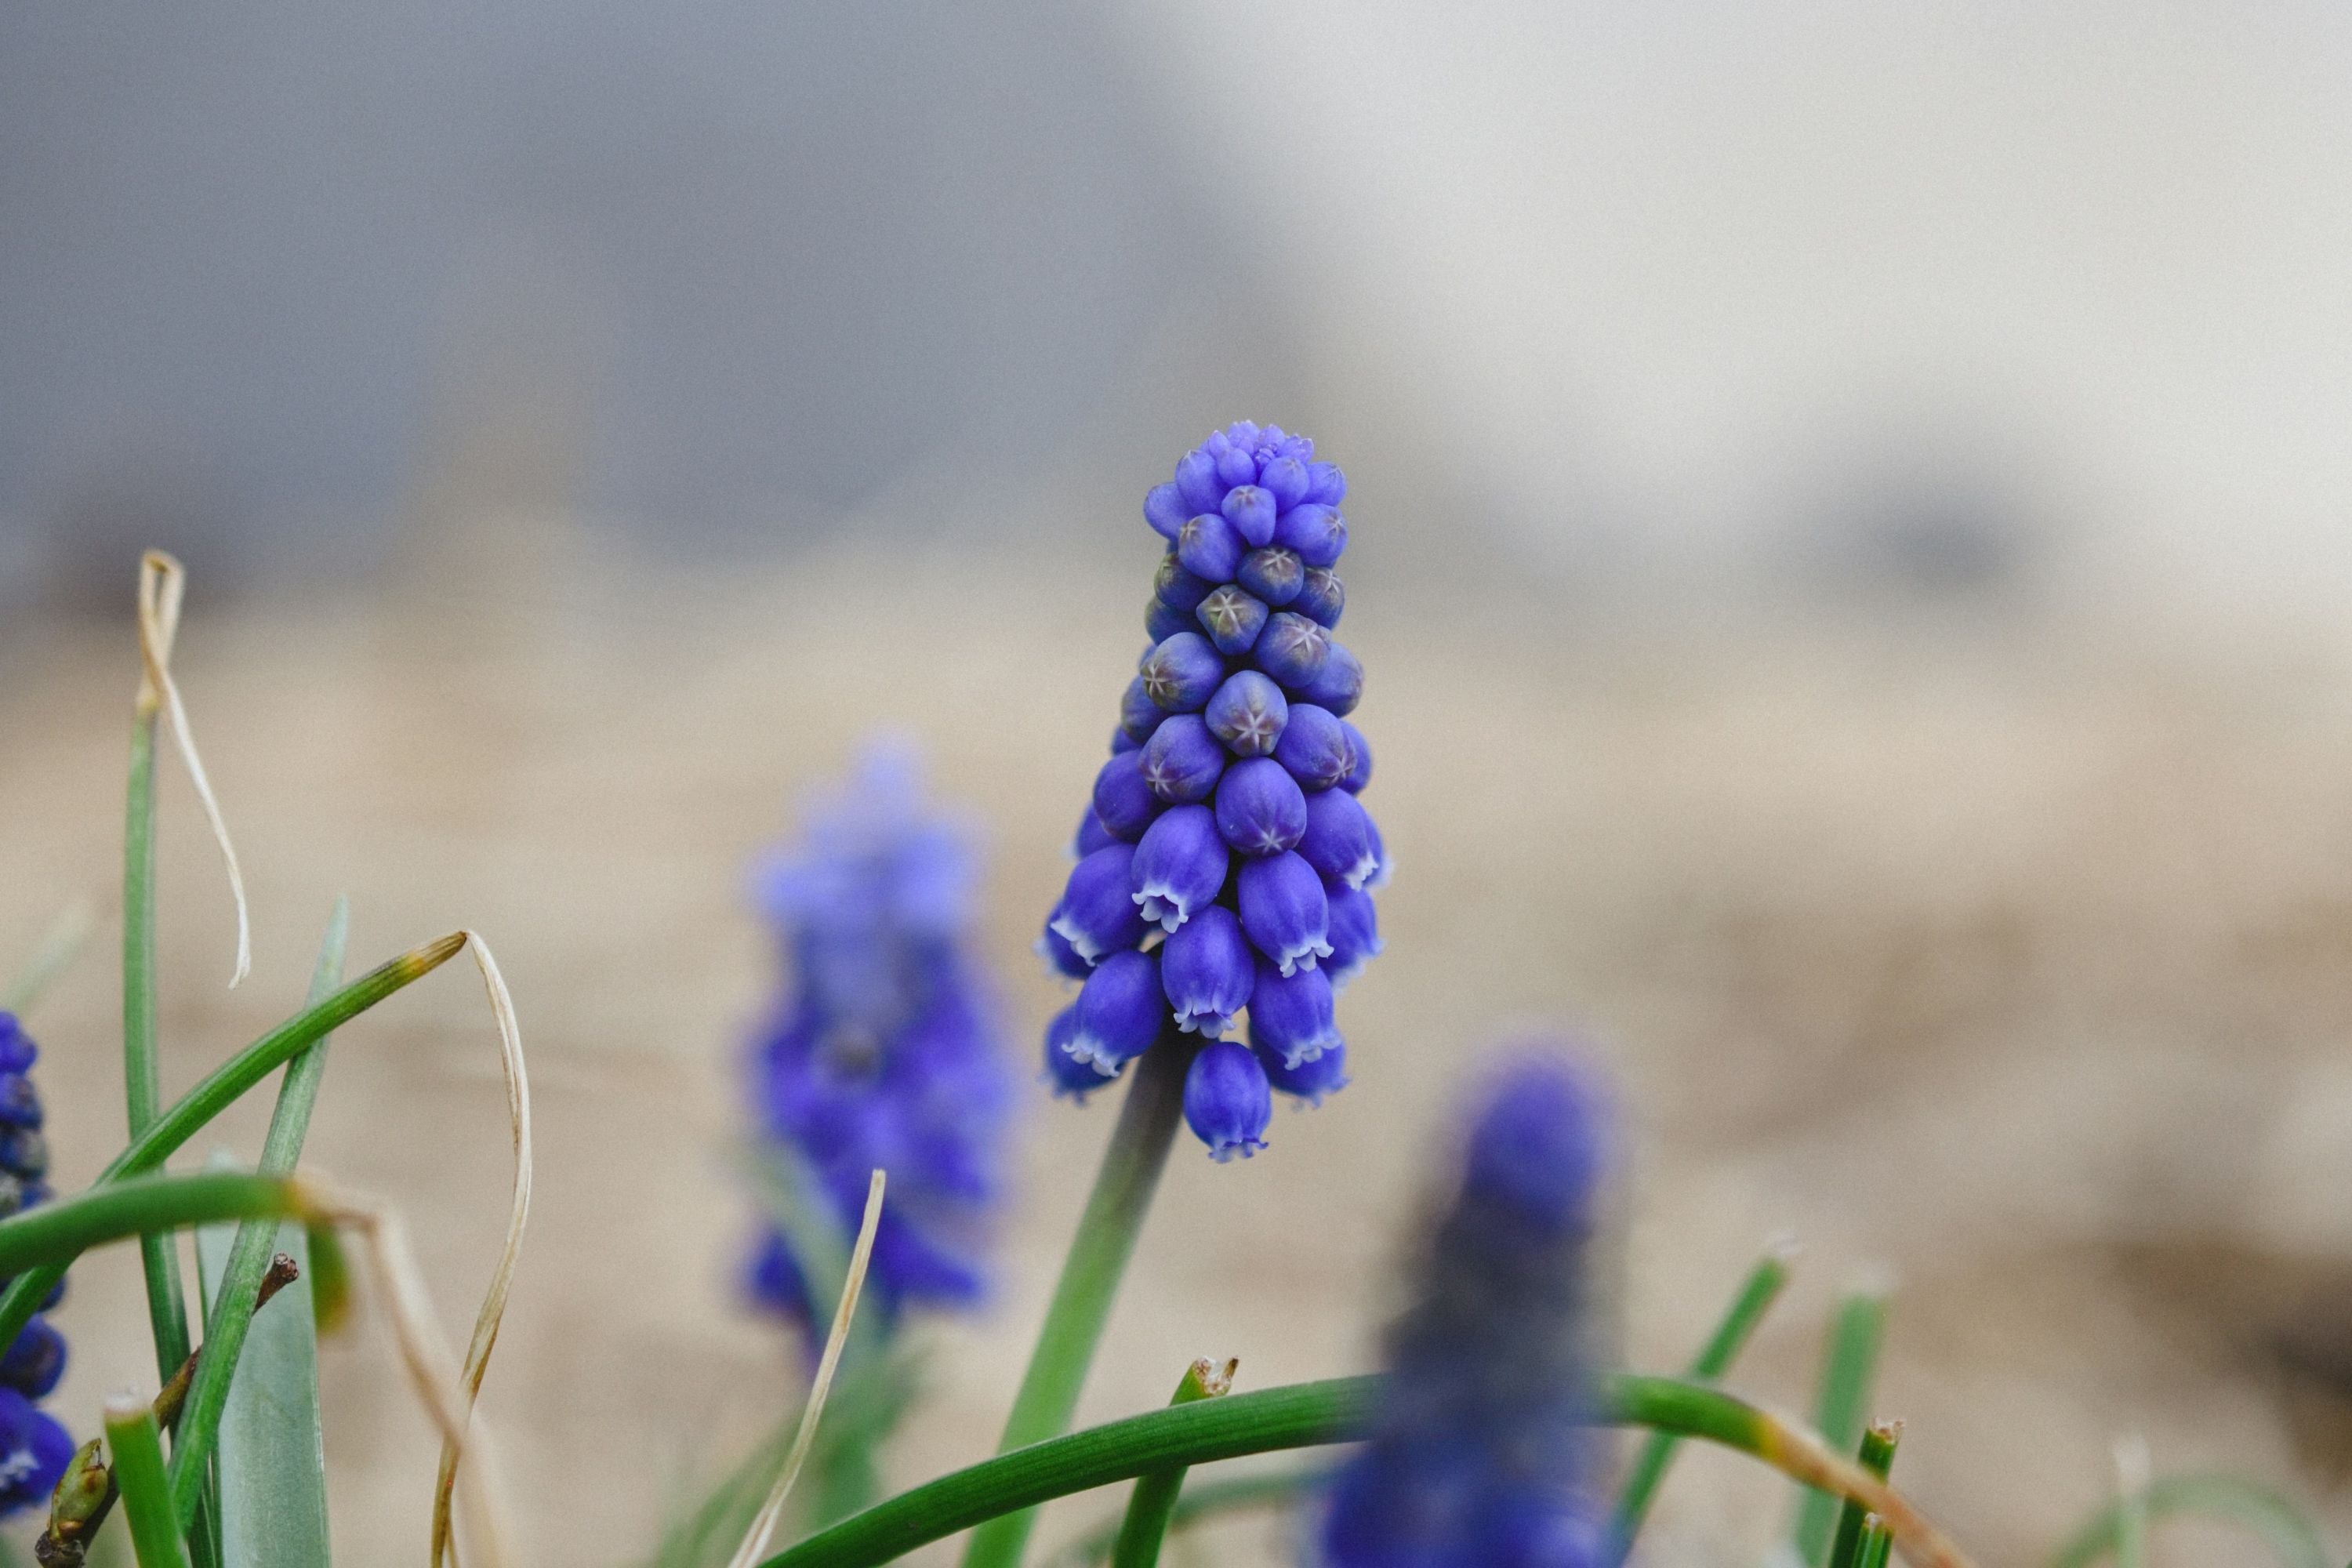
As the frost of winter gradually gives way to the warmth of spring, it's time to infuse your surroundings with the vibrant colours and fragrances of the season. One delightful way to usher in spring is by crafting a stunning floral arrangement, and what better choice than a muscari-filled trough? Muscari, also known as grape hyacinths, are charming spring bulbs with clusters of tiny, bell-shaped flowers that add an enchanting touch to any garden or indoor space.
In this step-by-step guide, i'll explore how to create your very own spring floral muscari-filled trough to brighten up your home or garden!
Step 1: Gather your materials. Before diving into the creative process, ensure you have all the necessary materials at hand. Here's what you'll need:
- A trough or container of your choice (wooden, ceramic, or plastic)
- High-quality potting soil
- Muscari bulbs (available at nurseries or garden centers)
- Optional: decorative moss, rocks, or other embellishments for added visual appeal
Step 2: Select the perfect trough. Choose a trough that suits your aesthetic preferences and fits the space where you intend to display it. Whether you opt for rustic wood, sleek ceramic, or colorful plastic, ensure that the trough has proper drainage holes to prevent waterlogging.
Step 3: Prepare the trough before planting. Fill the trough with a layer of high-quality potting soil, leaving some space at the top for the bulbs. Ensure the soil is well-draining to prevent water retention, which can cause bulb rot.
Step 4: Plant the muscari bulbs. Now comes the fun part – planting the muscari bulbs! Space the bulbs evenly across the surface of the soil, gently pressing them into the soil at a depth of approximately 2-3 inches. You can arrange them in rows or clusters, depending on your desired aesthetic.
Step 5: Add decorative touches (optional). For an extra touch of charm, consider adding decorative moss, rocks, or other embellishments around the bulbs. This not only enhances the visual appeal but also helps to retain moisture and suppress weed growth.
Step 6: Water and Care. After planting, water the bulbs thoroughly, ensuring that the soil is evenly moist but not waterlogged. Place the trough in a location with ample sunlight, as muscari thrive in sunny to partially shaded areas. Water regularly, keeping the soil consistently moist throughout the growing season.
Step 7: Enjoy the Blooms. As the days grow longer and warmer, your muscari-filled trough will burst into bloom, showcasing clusters of delicate flowers in shades of blue, purple, or white. Take time to admire the beauty of nature's handiwork and revel in the joy that spring brings.
Conclusion: Creating a spring floral muscari-filled trough is not only a delightful gardening project but also a wonderful way to embrace the NEW season. With just a few simple steps and some creative flair, you can bring the charm of springtime into your home or garden for all to enjoy. So, roll up your sleeves, gather your materials, and let your creativity flow!


Comments